Credits are an account-level currency.
If you have a QUIC.cloud account with multiple domains, there may be times you want to transfer some of your credits or quota from one domain to another. But once credits are allocated to a domain for a particular service, they must first be converted from quota back to credits, and reallocated to your account-level balance before they can be reused. This is fine if it only happens once in a while, but if you notice that you are transferring credits a lot, then you may need a new strategy.
Luckily, there is a way to manage your credits so that transferring between domains is not necessary.
TIP: Before we go into the details of how to do that, you might want to remind yourself about the role of credits either with QUIC.cloud CDN or with the Online Services, as appropriate.
So, here’s how to manage your credits so that you don’t need to transfer between domains:
- Keep your credits at the account level. Maintain a balance.
- Set up auto refill for your services, so that credits are allocated as needed.
Maintaining a Credit Balance
Credits never expire, so you can leave them in your account indefinitely. When you purchase new credits, simply leave them there. There is no limit to how many credits you may keep in your balance.
By storing credits here at the account level, they are available to any of your domains, when a need arises.
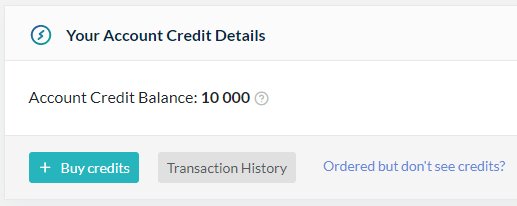
In the example in the screenshot, there are 10 000 available credits in the account-level balance. Your account credit balance is displayed in various places on the dashboard. You can click the credit number anywhere it is displayed as a link (in blue), or visit https://my.quic.cloud/credit to manage your balance and see a transaction history.
Setting Up Auto Refill
With credits in your account, you can use the Pay as You Go option to refill your quota for the CDN or any Online Service as needed.
Even better, you can make it easier on yourself by setting up Auto Refill.
With Auto Refill, when your quota dips below a certain level, credits are pulled from your account-level balance automatically to refill the quota.
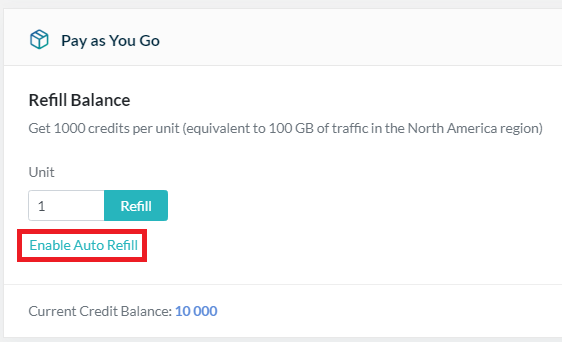
To set up Auto Refill for the CDN, visit your dashboard choose the domain you wish to set up, and click CDN. Scroll down to the Pay as You Go section, and click Enable Auto Refill.
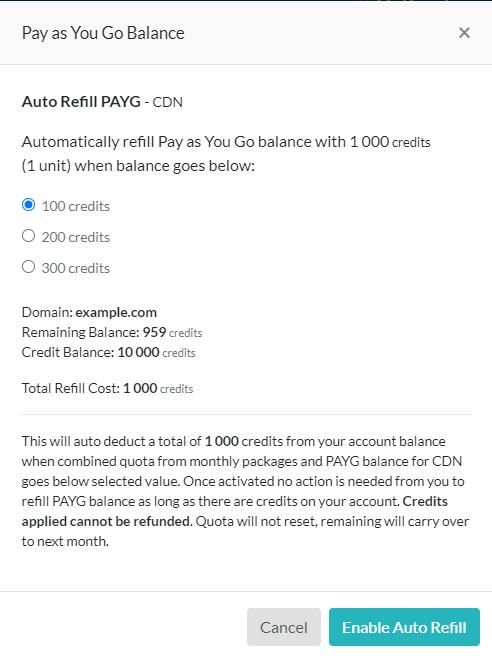
The pop-up will allow you to choose a threshold where Auto Refill kicks in. Select your preferred value and click the Enable Auto Refill button.

The process looks a little bit different for the online services, but it is essentially the same. Navigate to the domain and service you wish to set up, scroll down, and click Enable Auto Refill.
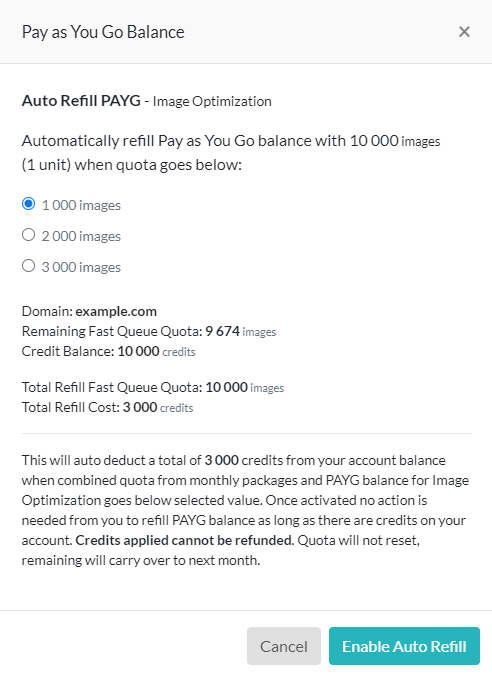
Choose your threshold, and click the Enable Auto Refill button.
Auto Refill will work behind the scenes, pulling from your account-level credit balance, and allocating quota to the domains and services that need them. All you need to do is keep your credit balance from dipping too low. You need to maintain enough credits to pay for all of the refills you have enabled.
If, by chance, you run out of account-level credits, Auto Refill will be suspended.
Restarting Suspended Auto Refill Services
If your account-level credit balance is depleted, and Auto Refill is suspended for your services, you can unsuspend it at the account level for all of your domains, or you can choose to unsuspend services for just a single domain. Just make sure you have added enough credits to your balance first!

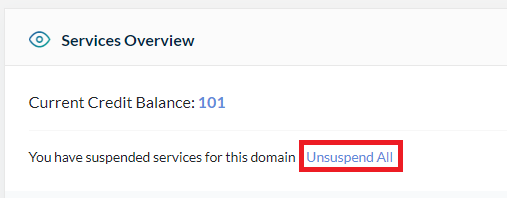
The first screenshot shows an account-level view of your balance, with the notification that you have suspended services. The second screenshot shows what it looks like from the domain level.
Whether you choose to unsuspend all of your domains at once from the account level, or just one domain at a time, click the Unsuspend All link to continue.
(Note that the screenshot below is for a domain-level view, but the process is the same for either level.)
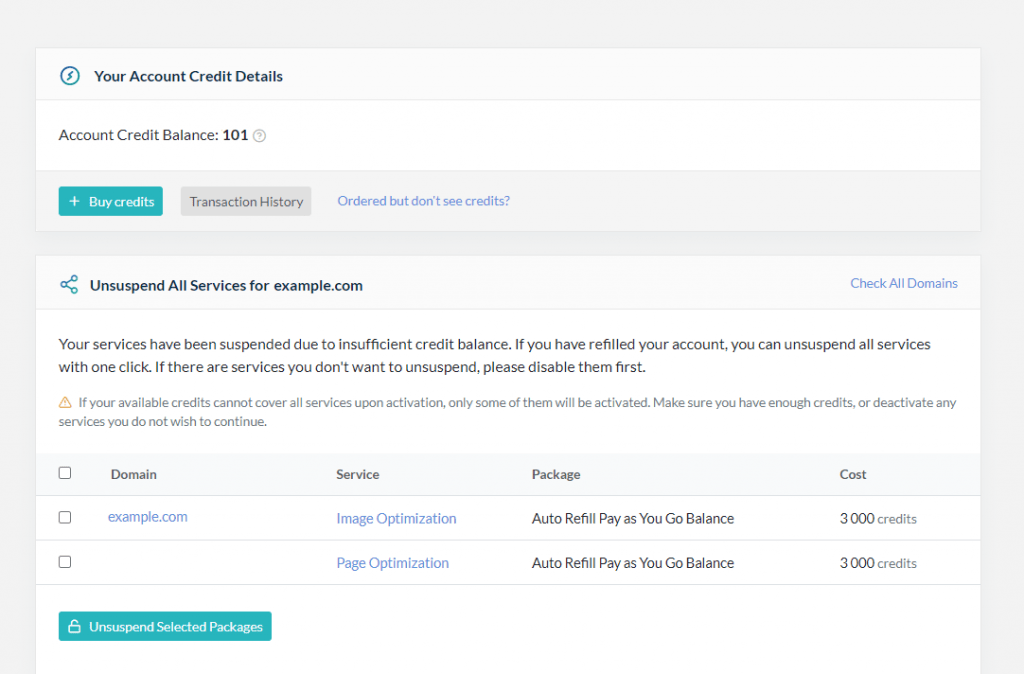
This screen will allow you to restart Auto Refill for all of your services in just one click.
You don’t have to unsuspend all of them. You could unsuspend some services now, and then come back later and unsuspend other services, if you want to. Use the check boxes to select which services to unsuspend.
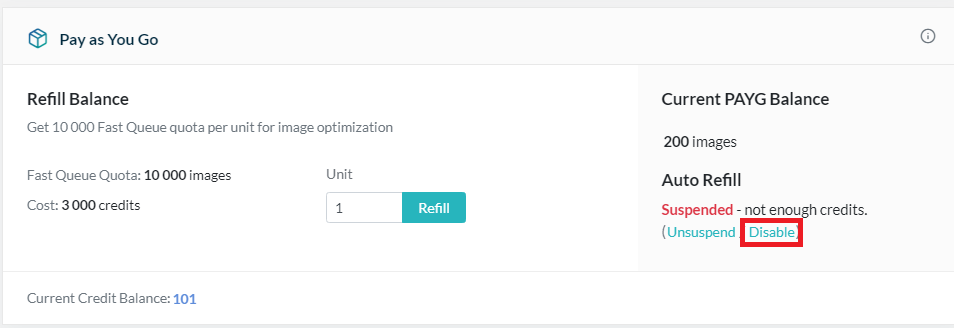
If you wish to turn off Auto Refill completely for one or more of your services, click the service name in the list. You will be brought directly to the Pay as You Go configuration for that service, where you can click the Disable link to stop using Auto Refill entirely.